

There are plenty of ways to improve your garden on a budget – but perhaps one of the very best projects to consider is building a vertical garden with a wood pallet.
Wood pallets are often freely available and even when you cannot source them for free, can be very cheap to get your hands on.
This project is an excellent way to make the most of the space you have available – and could also help reduce the amount of waste sent to landfill.
In addition to using a wood pallet, this project also makes use of other materials that might otherwise have simply been thrown away.
In this article, I’ll show you how I made two simple vertical gardens using wood pallets.
First of all – just one note of caution about using wood pallets around food production. It is important to know where the pallets have come from, and what they have been used for. Wood pallets can often be treated, or have come into contact with harmful substances.
So use common sense, and make sure you know the provenance of the materials you will be using. (In the project described below, the pallets were from building work that was being carried out on our property.)
What is a Vertical Garden?
Before we begin, let’s consider what we actually mean by ‘a vertical garden’.
A vertical garden is simply a growing space that makes use of the vertical as well as the horizontal plane.
Vertical gardens can come in a range of shapes, sizes and forms. At its simplest, a vertical garden can be a tree or vining plant grown vertically up a wall.
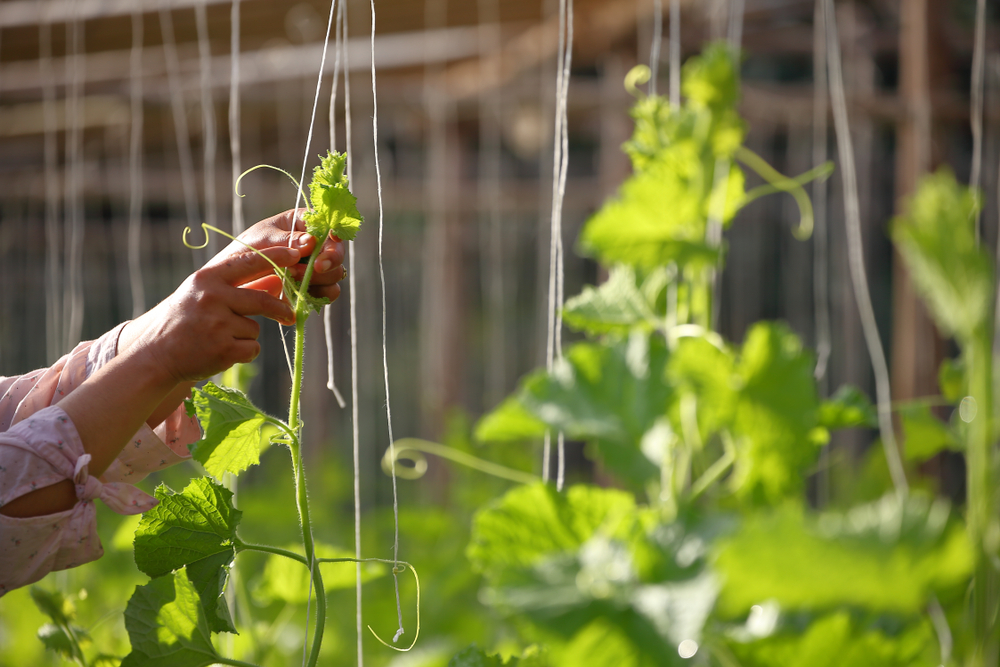
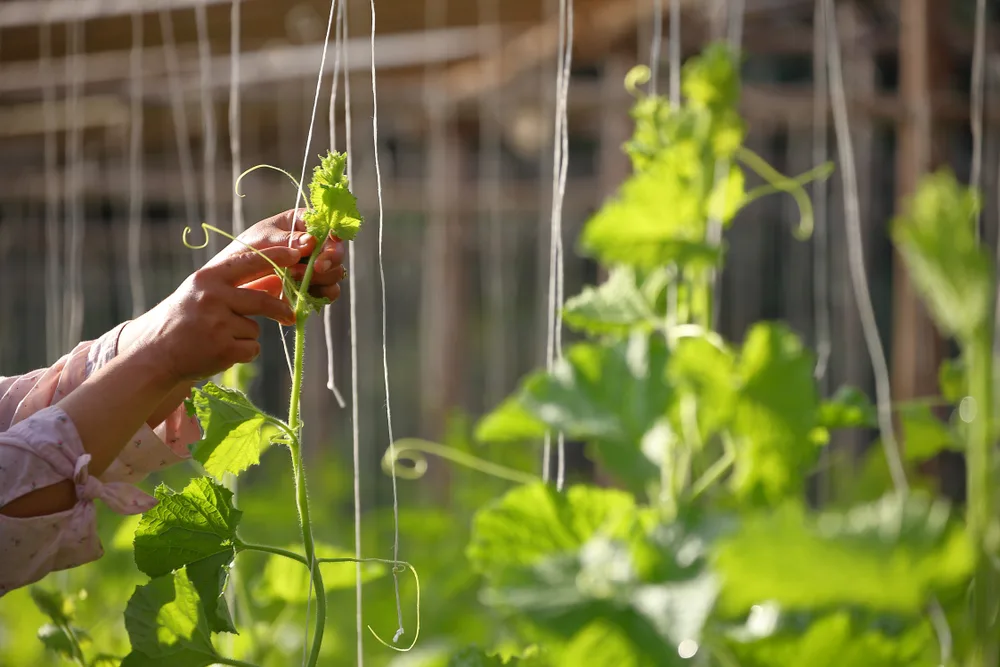
Rather than allow a tree to grow in a natural, standard form, it can be espaliered so it takes up less horizontal (and more vertical) space. Rather than allowing vining plants to grow over the ground, they are trained to grow up canes, trellis, or other vertical support structures.
A vertical garden can also take a range of other forms. They can be, for example:
- Simple shelving (to support small pots or other growing containers).
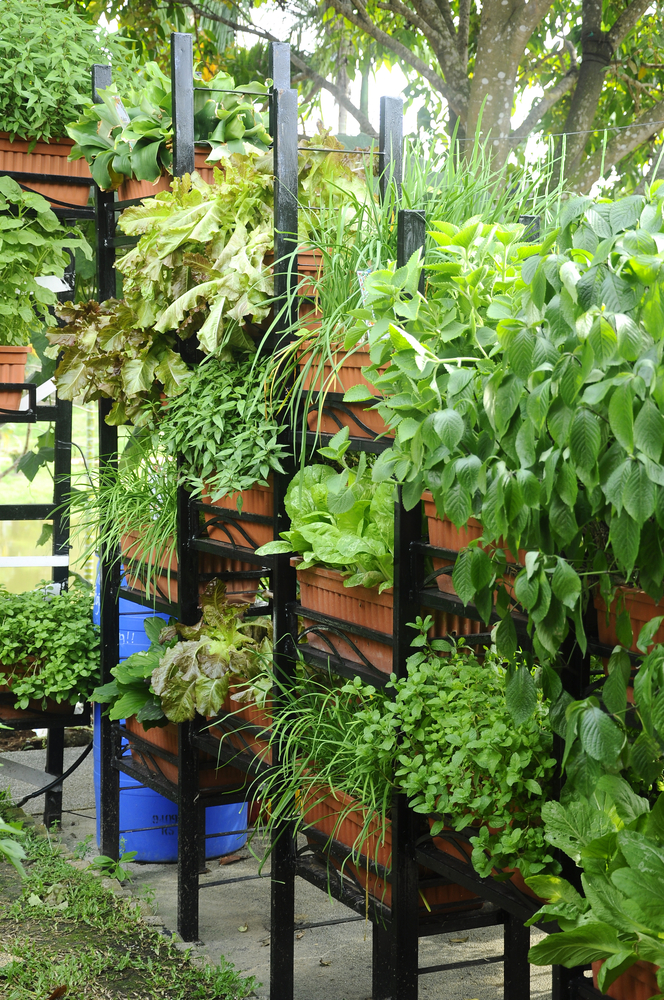

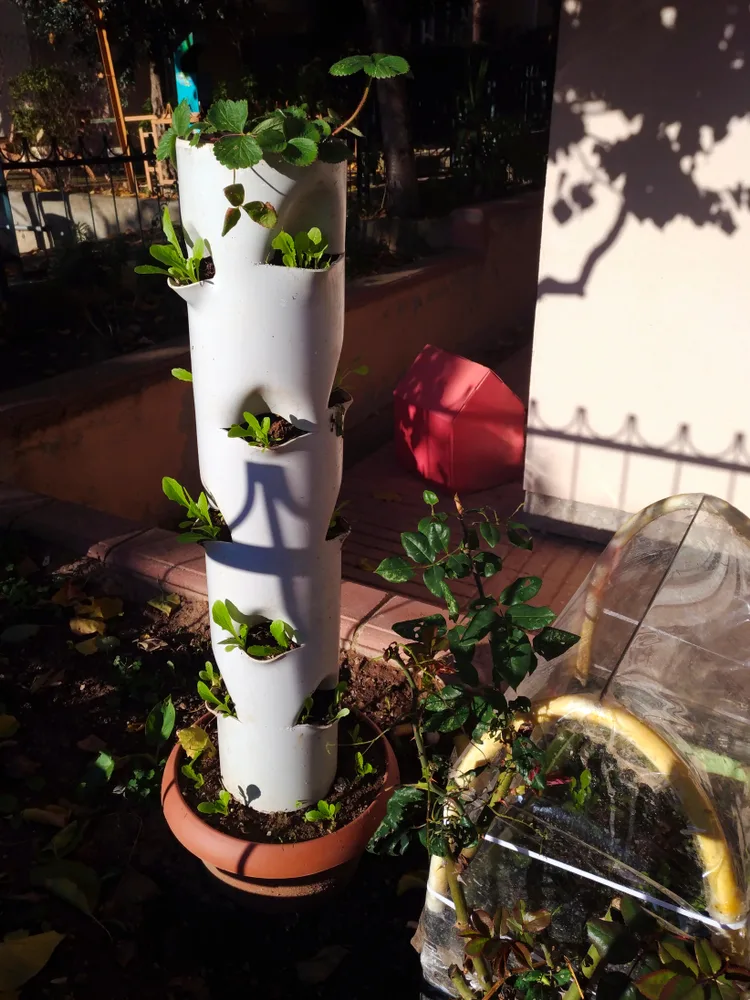
- A vertical structure with ‘planting pockets’ created up its height. (This can be a planting pocket vertical garden like to one described below, or a tower created with a range of different reclaimed or recycled materials.)

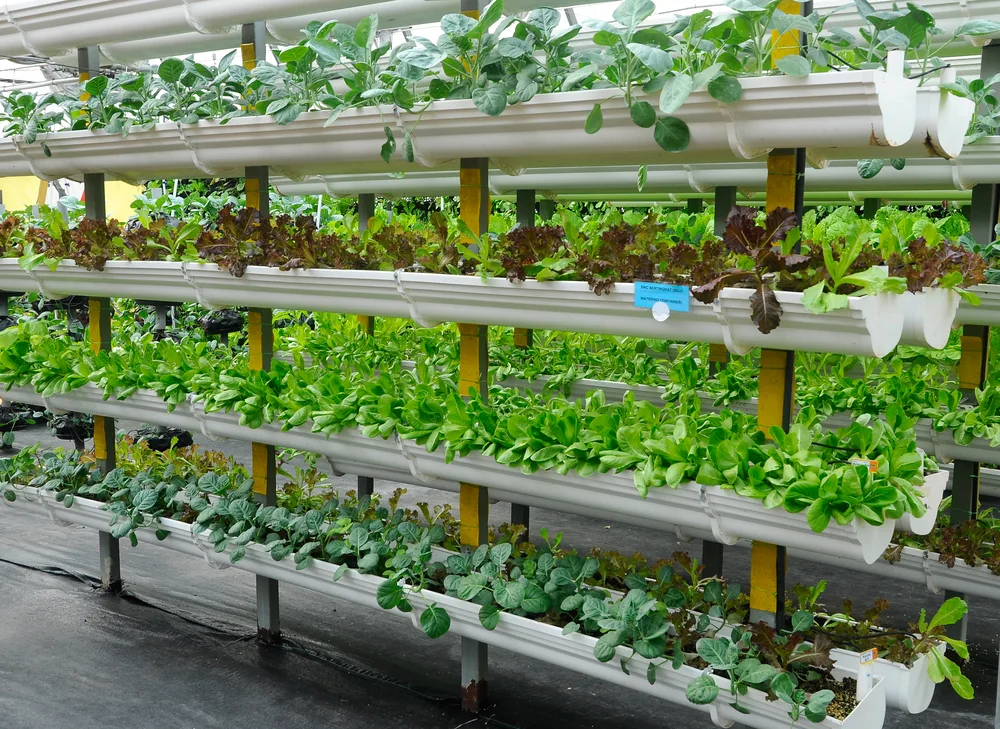
- A structure of pipework which supports plants grown hydroponically (with their roots in water rather than soil).

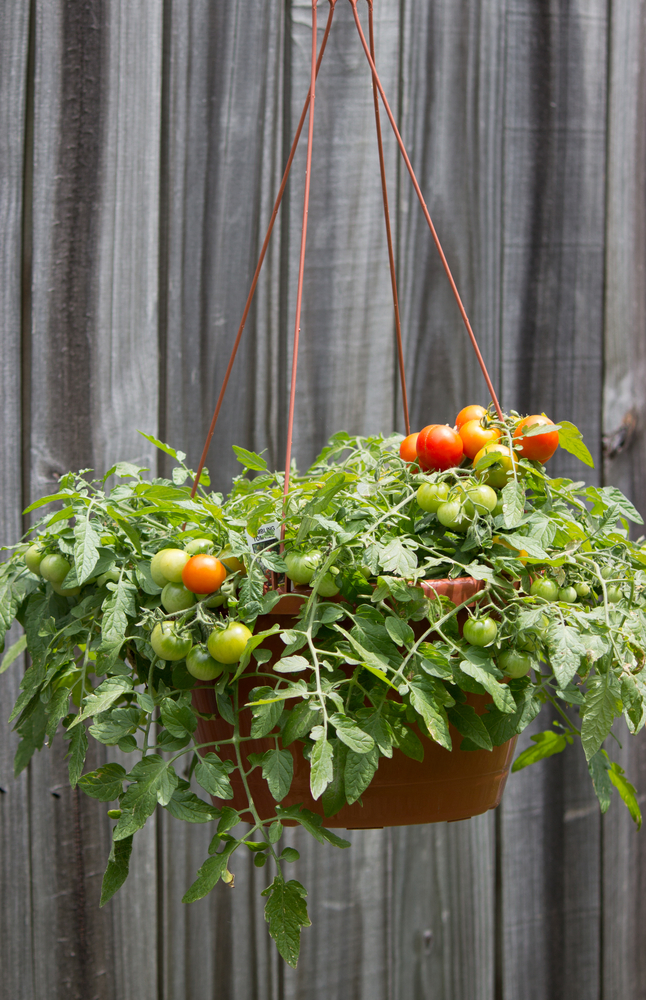
- Structures that support hanging planters, which can be placed above other growing areas or containers.
Wood pallets could find a place in many different vertical garden designs.
In this article, I’ll show you how I have created two different vertical gardens using wood pallets. The first is simple shelving, the second, a vertical garden with planting pockets.
Why Create a Vertical Garden?
I will get on to explaining the process of making these two vertical gardens with wood pallets soon. But before we get to that, I want to take a moment to explain why creating a vertical garden is such a great idea.
The first and most obvious reason to create a vertical garden is to save space.
If you only have a small garden, vertical gardening techniques can dramatically increase the amount of food and the number of other plants you are able to grow. Even if you do not have any outside space at all, you might be able to create a vertical garden of some kind to make the most of the space available inside your home.
Even if you have a larger homestead, with more land, vertical gardens can still be a great way to increase yield. They can also help you make the most of a particular growing area.
For example, they can help you make the most of a protected growing area within a greenhouse or polytunnel. They might also be a good way to make the most of a sheltered patio area, south-facing wall, or sun-trap area of decking, for example.
A vertical garden can also be a great way to improve the appearance of an ugly wall or fence. You don’t have to use one to grow only salads and other edible crops. You could grow ornamental plants in this way too.
Vertical gardens are a great way to make your environment greener, and give back more of the build environment to growing plants. This is not only good for people, it can be great for wildlife too.
Creating a Vertical Garden With a Wood Pallet
I made these two vertical gardens to give myself more space for growing leafy salad crops. While I am lucky enough to have quite a big garden, I’m always looking for ways to increase the yield I can obtain.
I intended to make one vertical garden (the second idea described below). But in the end I ended up making two. This first project is a bonus idea, which developed when I saw the promise of one pallet I had.
Method One: Simple Shelving
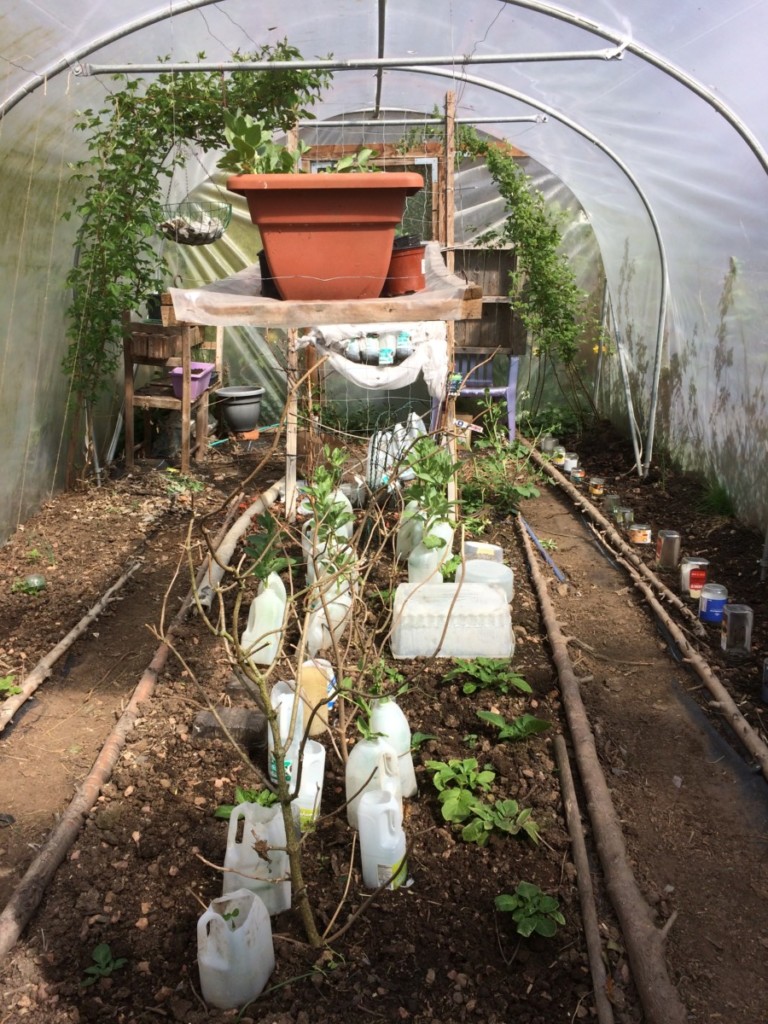
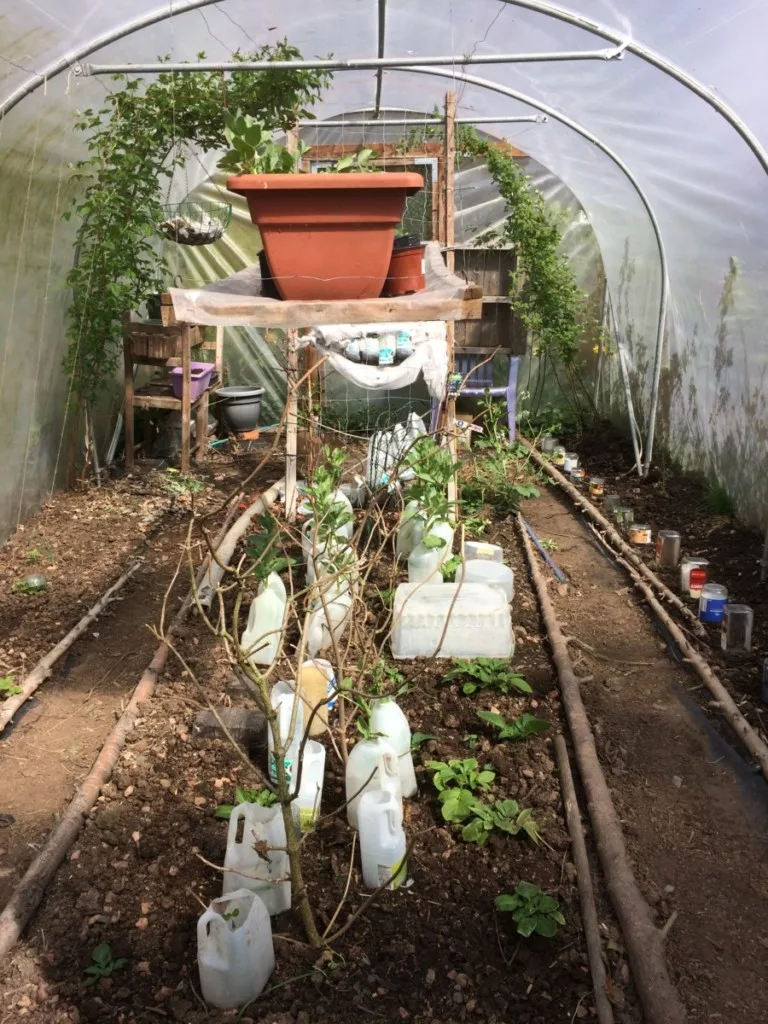
The first project could not be more simple. I just took a wood pallet and used it to create some simple shelving at one end of my polytunnel. I live in a cool climate, short season region, so my polytunnel is crucial for year-round growing.
The space is unheated, but allows me to get started much earlier with sowing and planting than I can outdoors. It also allows me to more effectively overwinter crops in my area. If you have a polytunnel or greenhouse too, you will know that space is always at a premium.
I already have a hanging shelf (made with leftover polytunnel plastic sheeting and scrap wood) and a trellis (on which I string milk bottles for additional container growing.
Now, I have added wood pallet shelves as another vertical gardening technique. These wood pallet shelves simply stand at one end of the polytunnel. This small pallet came ready-built as you see it. So it really was as simple as standing it where I wanted it, and adding my containers.
If you find a pallet that is suitable for shelving as is, you too could simply use it in this way to add growing space in your garden. Though mine is in the polytunnel, and freestanding on top of an old garden chair, you could also easily plug and screw this simple shelving to a garden wall, or even a wall of your home.
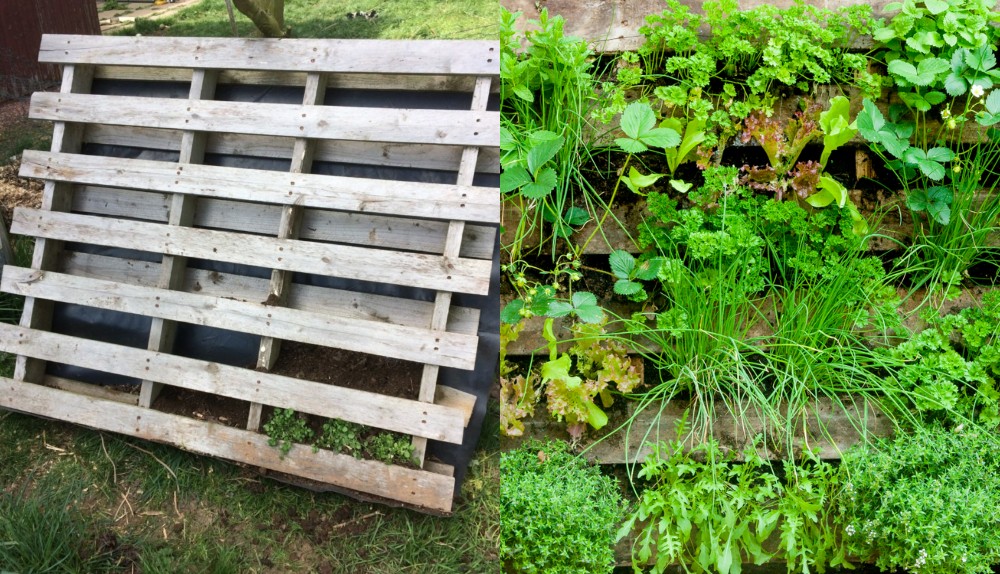
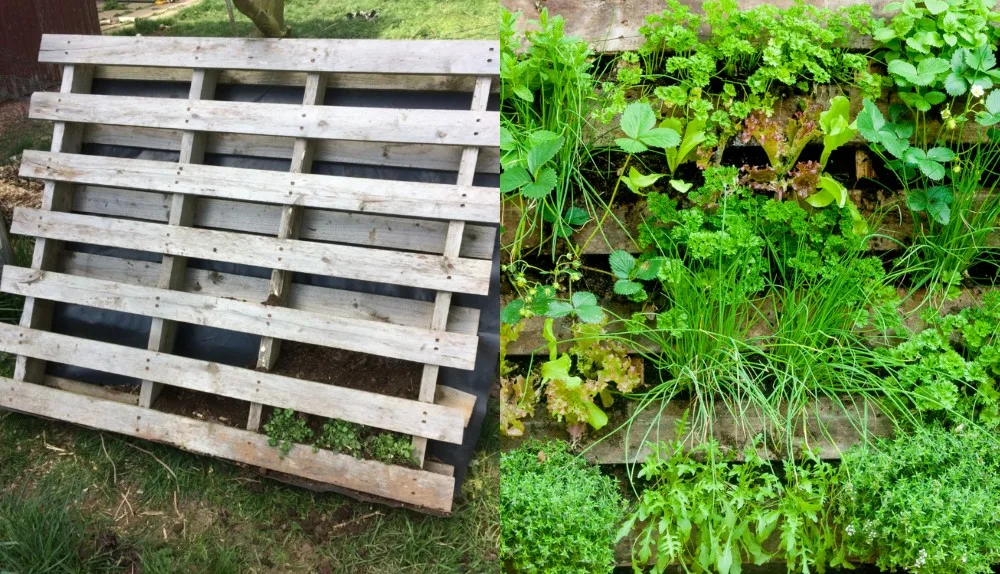
Method Two: Soil Filled Vertical Garden
This main vertical garden project is a little more complex. But it is still a relatively easy project to undertake. You don’t need many tools, or specialist DIY knowledge. It might even be a fun project to take on with young kids.
The Method:
I began by selecting a pallet with gaps between the main ‘floor’ slats.
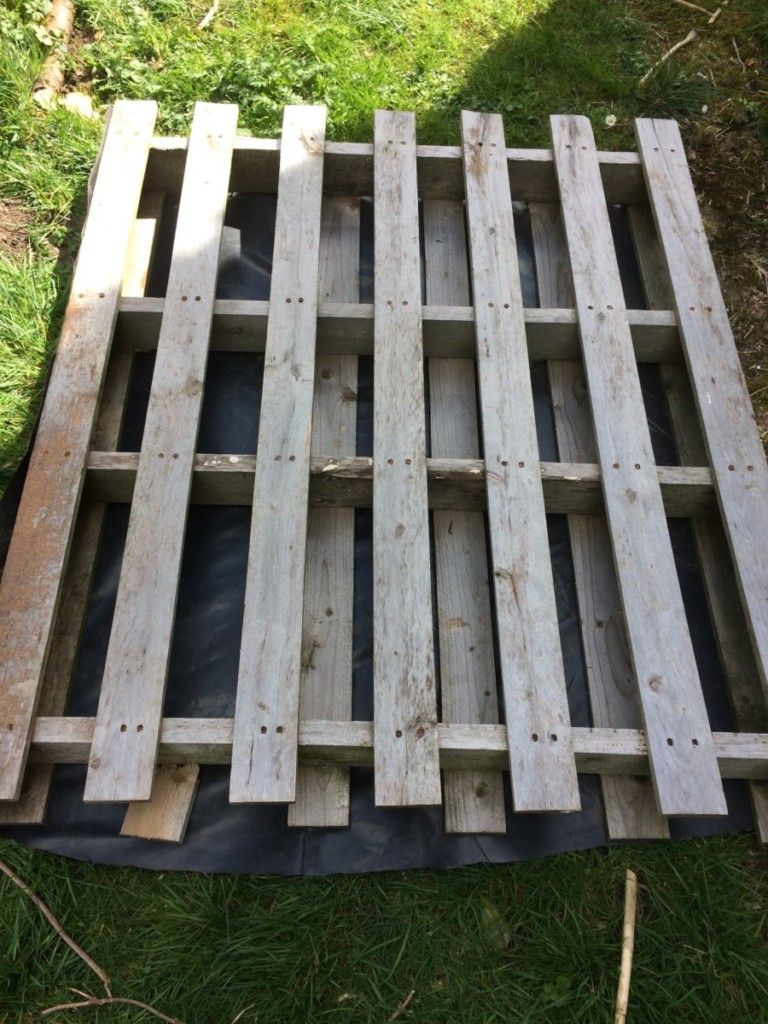
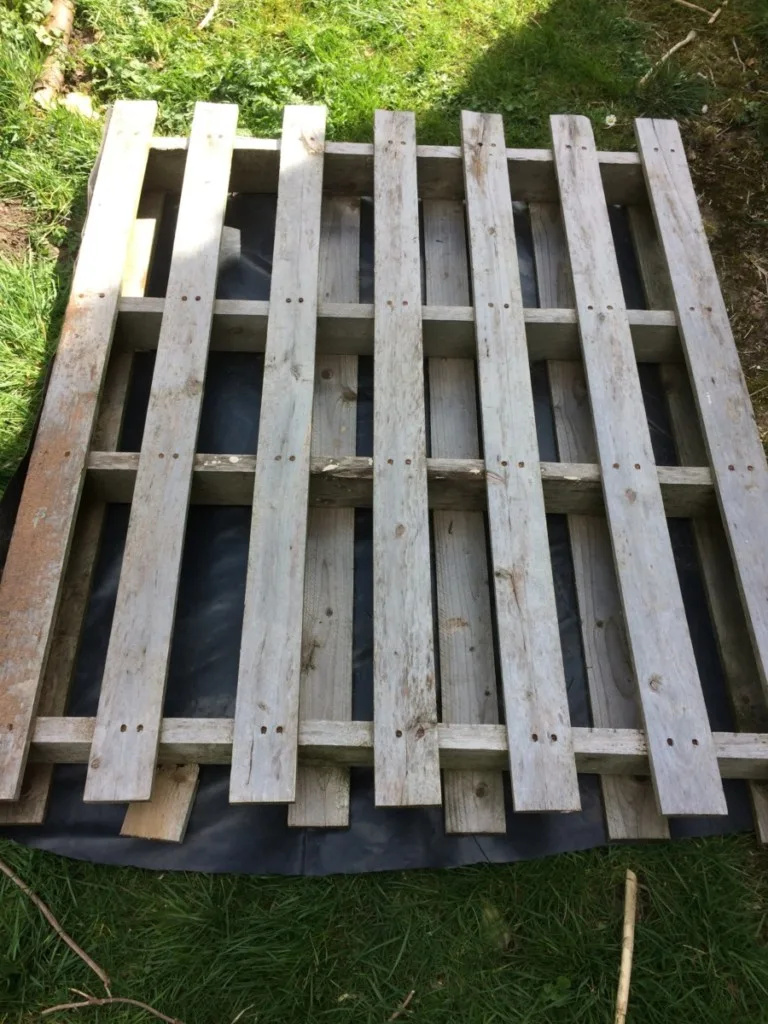
Next, I cut a section of waterproof membrane – cut offs from membrane that we were required by the authorities to install in our barn renovation project.
Unfortunately, though we are trying to cut down on the amount of plastic that comes onto our homestead, this plastic was unavoidable. I wanted to make use of this material to keep it out of the waste stream.
I cut a piece large enough to cover the back of the pallet I chose, and to flap down to form the bottom of the vertical garden.

You could also use other reclaimed fabric, or sacking material/ hessian or other natural materials for the purpose, if reclaimed materials are not readily available. It is best to avoid buying new plastic items wherever you can when trying to create a sustainable homestead.
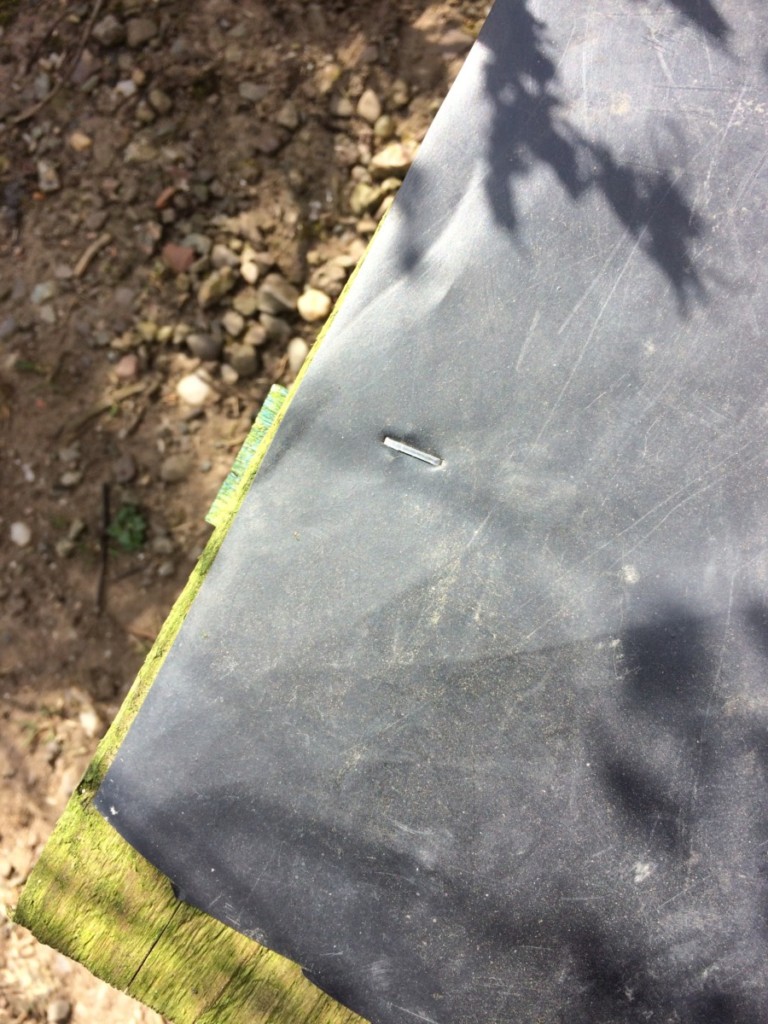
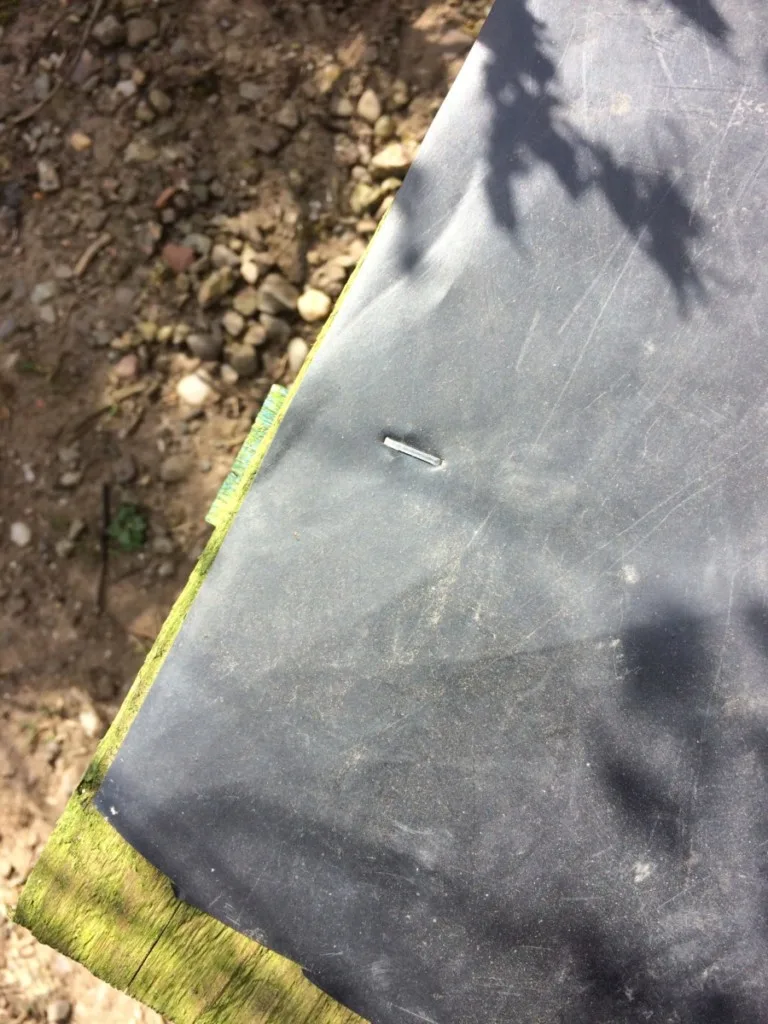
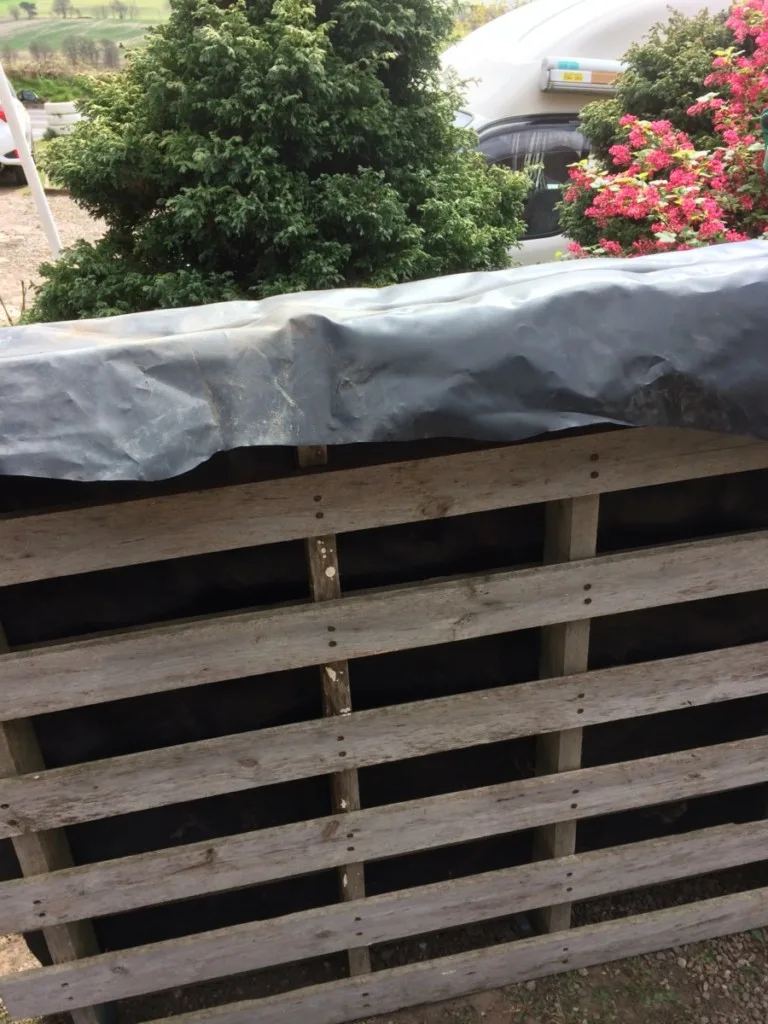
I then attached the material to the slats of the pallet using staples. It could also potentially be attached with nails. I made sure that the material was firmly secured to the reverse of the structure, then leant it up against a fence and began to fill it, from the base.
To fill it, I am using a 50/50 mix of soil and compost (well moistened).
Positioning and Planting Up:
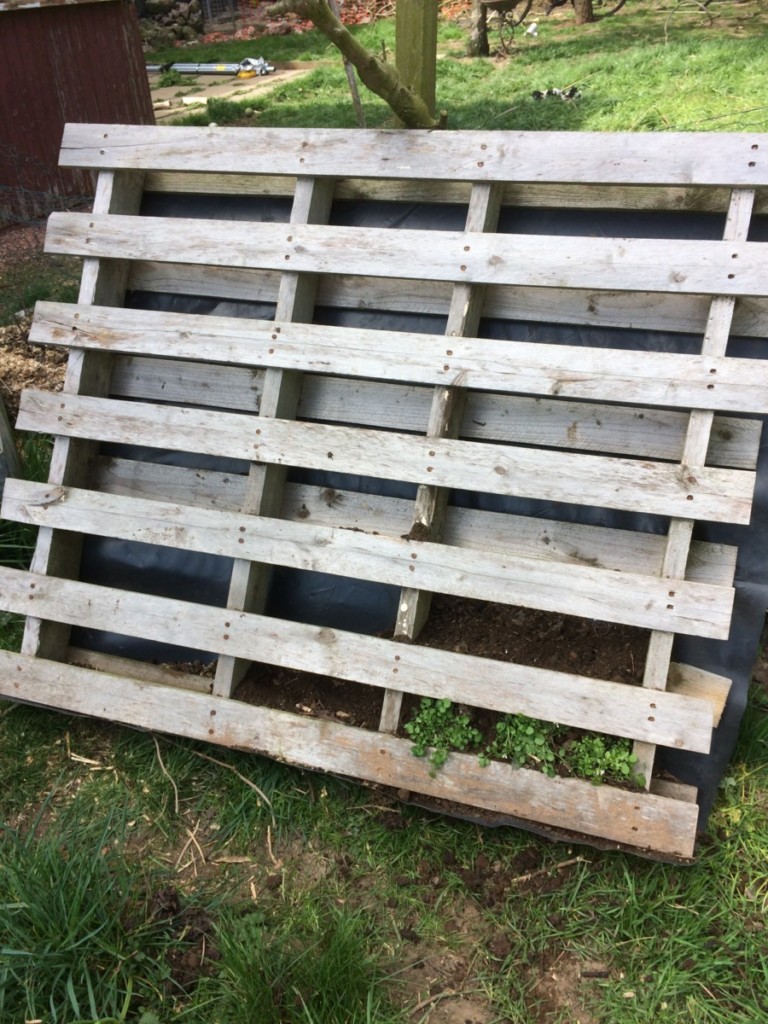

Ideally, you would lay the garden horizontal until rooting has firmly taken place. But space is at a premium in this small section of my garden, close to my polytunnel. So I have come up with a somewhat different solution suitable for very small spaces.
I leant the structure up at a 45 degree angle, then carefully begun to fill it from the base. As I filled each section, I added plug plants – so far, some kale (for baby leaf salads), and some Stellaria media (chickweed).
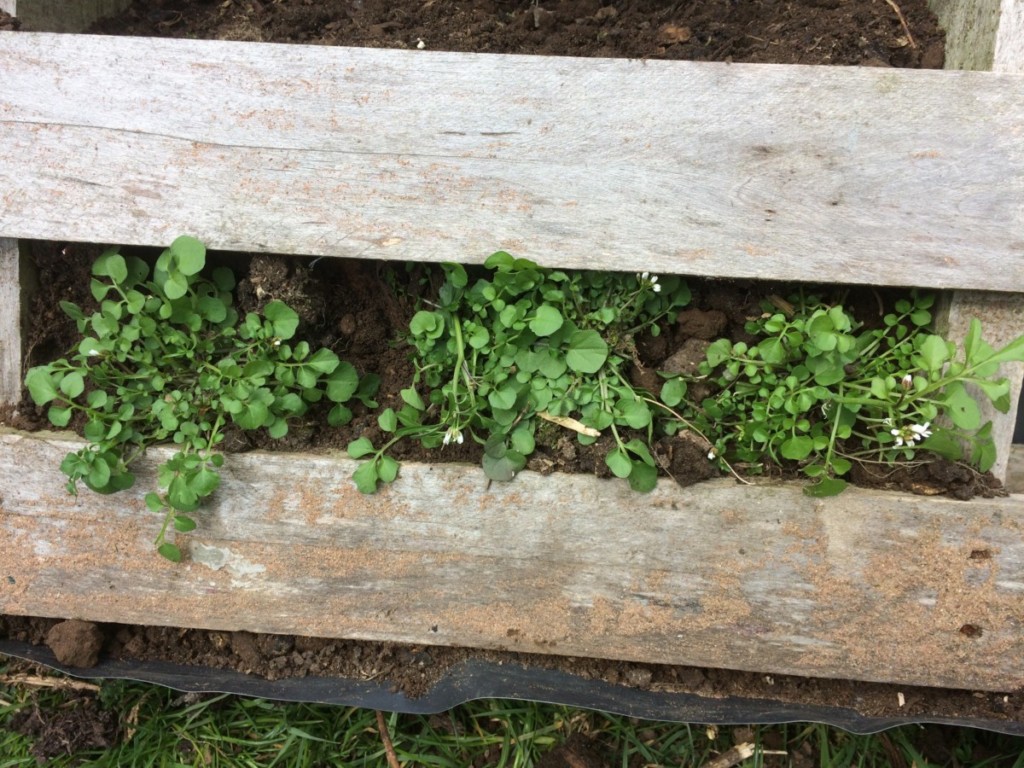
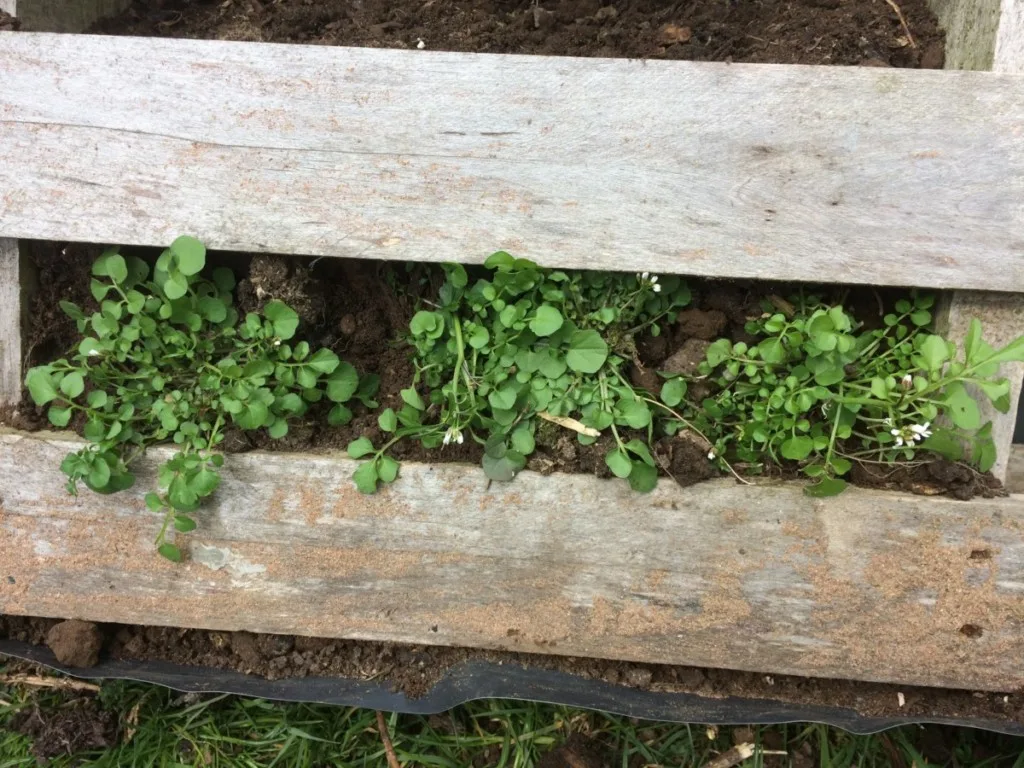
Soon, I plan to sow more brassicas, lettuce, spinach and other leafy greens, then transplant them into the soil/compost within this structure.
I tend to prefer to use transplants for a vertical garden, but you can also choose to sow seeds directly.
Watering and Maintenance:
I will continue to fill and plant up the vertical garden over the coming weeks. I have and will water the structure using the hosepipe I have attached to our rainwater harvesting system. However, depending on access to water, and how easy it would be to implement, you could also consider creating a self-watering vertical garden.
To do so, you could simply run soaker hose or perforated pipes down through the structure from the top. Then either attach this to a water system, or water manually by pouring water into pipes coming out from the top of your vertical garden.
Once the seedlings have taken root, I will increase the angle of my vertical garden up against the fence, and water it throughout the growing season. The plant roots help the soil stay in place.
This is just one possible way to make a vertical garden. It is always best to use materials that you already have, or which are freely available (or cheaply available) where you live. The vertical garden you create may not initially look that great. But by the time it has been filled with plants – even the most rustic of creations can look wonderful.
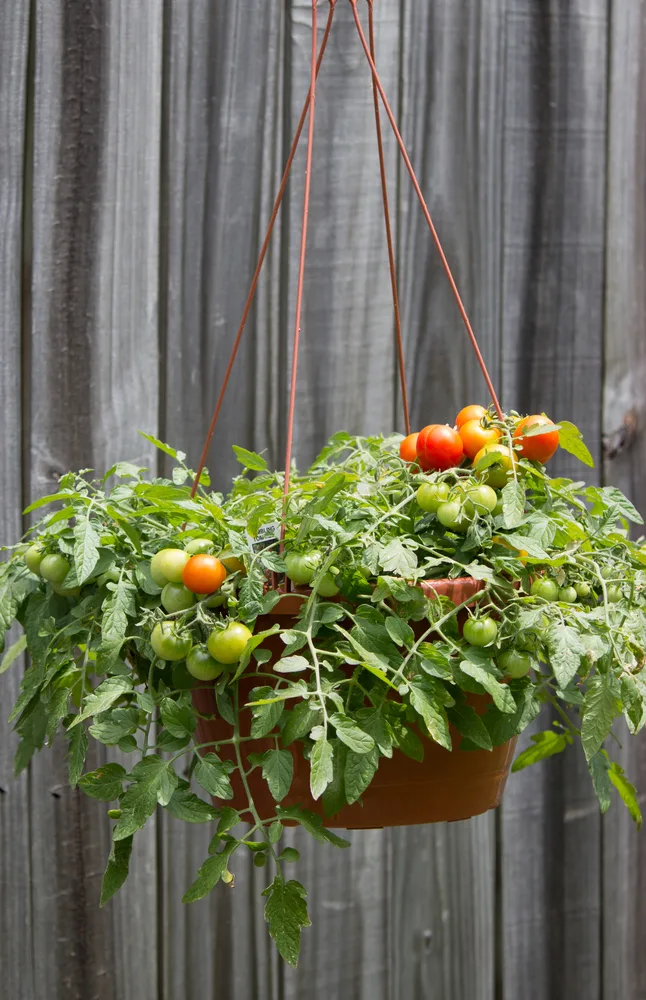
Eventually, I plan for it to look more like this:

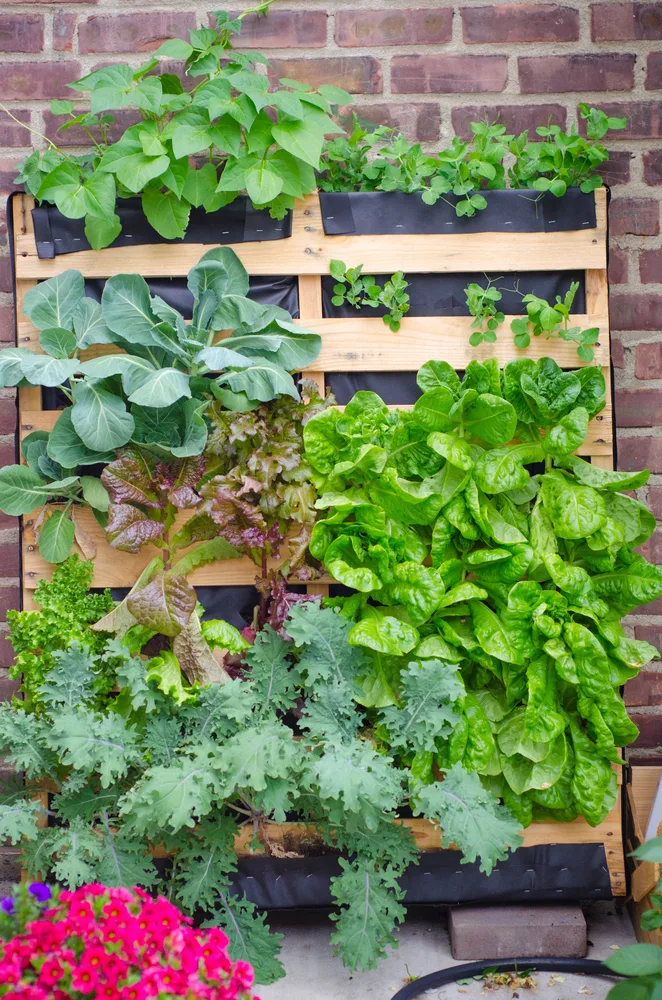
Or even this…


It is a good idea to feed leafy greens in your vertical garden with a good quality organic liquid fertilizer throughout the course of the growing season to maintain fertility.
Why not experiment with what you have to make the most of your space and make a vertical garden for your homestead?
It could be a great way to provide you with a range of leaves and flowers for salads throughout the spring and summer months. You might be surprised by just how much you can grow in even the smallest of spaces.


Get the famous Rural Sprout newsletter delivered to your inbox.
Including Sunday ramblings from our editor, Tracey, as well as “What’s Up Wednesday” our roundup of what’s in season and new article updates and alerts.